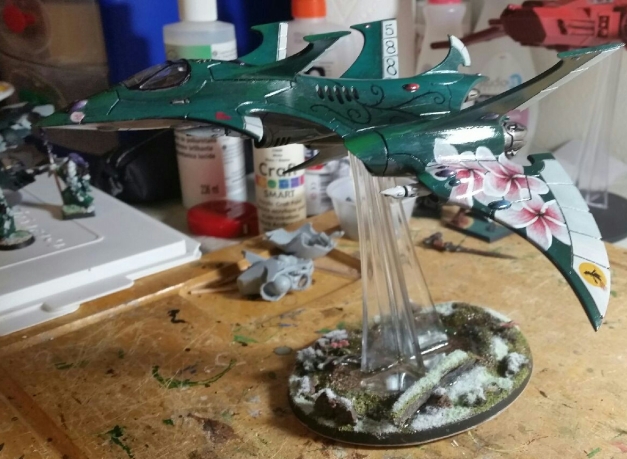
I am not entirely certain why it took me so long to get around to finishing this model up, but I am going to blame it on not wanting to work with the resin. It can be kind of nerve-wracking, and I am still having problems remembering to take pictures in between each step.
Get Online Xanax PrescriptionBuy Tramadol Without Prescription
https://itxasofisio.com/conoceme/Order Valium Online So, we started off with the above. I cut the center of the base out in chunks before super-gluing a thin peice of cardboard (think thin cereal box instead of big packing box) to the bottom. Then I used some more of the cardboard and cork to add more textural variance.
Clonazepam Purchase OnlineNext came the clay. Since it is going to be the primary barrier keeping the resin in, it needs to seal the open space between the cardboard and plastic base. After leaving the clay to dry and filling any cracks that form (I use a lightweight clay made of primarily paper pulp that contracts a bit when drying), I then brush a layer of watered down PVA (Elmer’s) glue over top of the base twice to provide better sealing. This went over the cork bits as well to prevent them from soaking up too much paint.
Zolpidem Buy Onlinehttps://www.belico.co.uk/commercial/ After that, I start with the basing materials, specifically fine gravel with a few larger rocks here and there for interest.
https://itxasofisio.com/placer-autoconocimiento/ 
And this is when I entirely forgot to take pictures. The steps I took leading up to this were as follows:
- Paint everything (except the gravel since it is held on quite loosely by the PVA glue) brown.
- Heavy dry brush with a tan color
- Heavy brown wash over everything, including the gravel
- Selective green ink for detail
- Glue on details
- twigs to represent deadfall
- Tough clumps of green for bushes (I pulled this off some hobby trees a friend gifted to us so I have no idea what it is)
- yellow grass tufts from GW’s basing line
- small flowers from a hobby train store
- Black glossy gravel from a crafts store
- Green grass flocking everywhere (I find a layer of this is necessary since the snow flock I use is often translucent and shows the color of the layer below it)
https://www.hoptondentalsurgery.co.uk/contact/ Flocking does not seem to photograph very well, and I feel like looking at it this way, I ended up with a lot more green than I intended to.
Buy Tramadol Without Prescription After the flocking, I mixed up some resin – the two part kind you can get from a home improvement store – and poured it into the basin that would be my pool. After waiting a bit for it to settle, I stuck a lily pad set from JTT Scenery Products into the resin before letting the whole thing set overnight. Unfortunately, once I started adding the snow flocking, I realized that the resin was not quite 100% done since the snow flocking stuck to it. Still, after the log got its snow, keeping the snow flocking away from the resin was ok. Anything that got stuck could partially be brushed off with a paintbrush since the resin was hard enough to not get streaky.


